
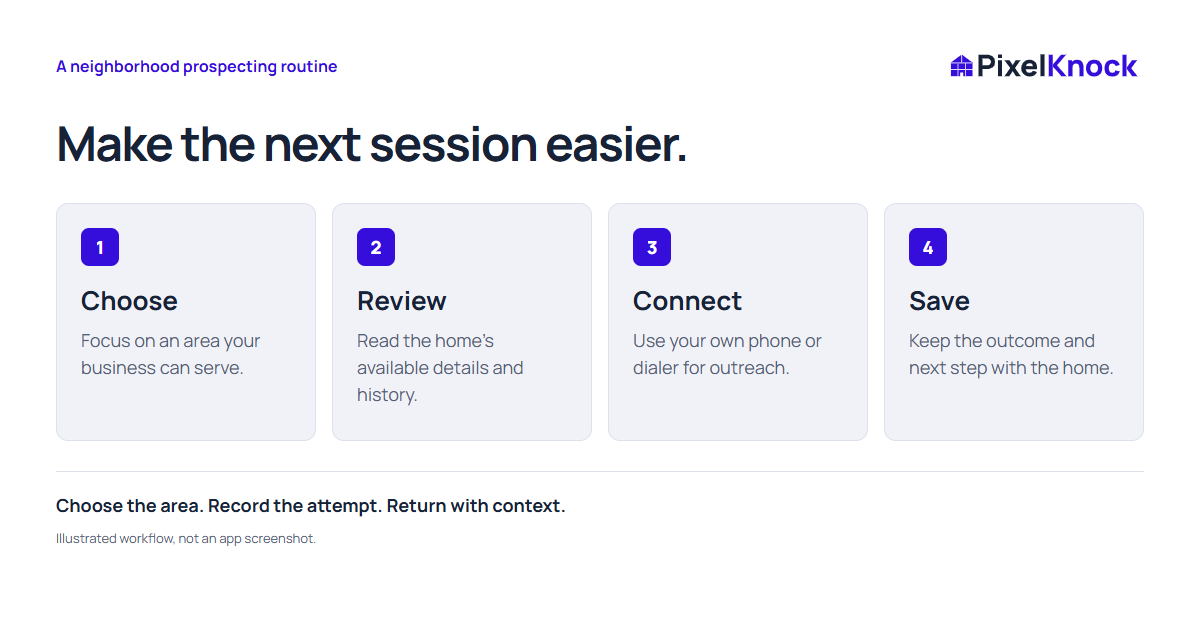
Choose an area for a reason
A useful session begins with a specific place and a reason to focus there. That might be an area your business already serves, streets near a completed job, or a neighborhood you are evaluating before working there.
Check the practical boundaries first: where you can deliver the service, how far you can travel when needed, and what you actually know about the area. A familiar-looking map is not evidence of homeowner interest.
For example, a rep might choose a few streets near a completed job because the business already works nearby. That is a reason to research the area. It is not a reason to claim the neighbors know the customer or need the same service. If you use a local reference later, keep it accurate and appropriate to share.
Use the service-area research checklist if choosing the neighborhood is the hardest part.
Give the session one clear task
Decide whether you are researching unfamiliar homes or returning to saved conversations. Both are useful, but switching between them without a plan makes it harder to finish either.
- For a research session, choose the area and identify what you need to learn about individual homes.
- For a follow-up session, review saved outcomes and notes before choosing the next attempt.
- Set a stopping point that fits your available time. Leave enough time to record what happened.
A practical goal is a completed piece of work: review the homes you selected or revisit the callbacks you intended to handle. A count of records alone does not tell you whether the session was useful.
Review the home before choosing the next step
In PixelKnock, open a home to review available property and homeowner details. Check that you are looking at the intended property and read the information that is actually returned. Available details vary; a property record is not a guaranteed reachable contact.
If a home is already saved, read its history first. An old note may be more useful than starting the same research again. Keep your current workspace's credit usage in view when retrieving new information; opening saved records is free.
Decide what to do with the information before moving on. You might need another research step, a return to an existing conversation, or no further action. For questions about available information, see data and questions.
Keep the attempt and the note together
Use your own phone or dialer for any appropriate outreach. PixelKnock gives you a place to record the outcome and context after the attempt; it does not place the call.
A useful note answers three questions: what happened, what was actually said, and what you intend to do next. Keep assumptions separate from statements made by the homeowner.
Fictional example: “Spoke with the homeowner. They asked me to call next Tuesday afternoon to discuss the service. Next step: review this note before calling.” That gives your next session a clear starting point. “Good lead” does not.
Use an outcome label that matches the attempt, and add the detail the label cannot hold. A Callback label records your intent; it does not schedule a reminder. Use your existing scheduling tools if you need one. Keep notes relevant to the work and avoid unnecessary personal information.
End with a short review
Before leaving the session, check that your saved notes match what happened. Identify any next actions you intend to take and arrange them in the tools you already use. When you return, filter saved homes by outcome and read the note before deciding where to begin.
Use this checklist for your next session:
- Choose a neighborhood your business can serve.
- Decide whether this is a research session or a return to saved work.
- Review the intended home's available information and previous history.
- Record the actual outcome and a useful note after the attempt.
- Choose your next action and handle any scheduling separately.
The useful result is a record you can act on later: a home, what happened and the context you want next time. See the virtual canvassing workflow to put the routine into a PixelKnock workspace.